
WordPressの投稿や固定ページに何度も同じパーツを使いたいときに便利なのがプラグイン「Insert Pages」。情報が変わったときベースのページだけ修正すればいいので、共通で使いたいパーツにおすすめです。

目次
Insert Pagesのインストール
WordPressの管理画面サイドメニューより「プラグイン」の「新規追加」を選択。プラグインの検索で「Insert Pages」を検索し「今すぐインストール」>「有効化」にします。
Insert Pagesの使い方
固定ページで共通パーツを作る
まずは、固定ページで共通パーツを作っておきます。
Insert Pagesの表示方法
クラシックエディタ(ビジュアルエディタ)の場合
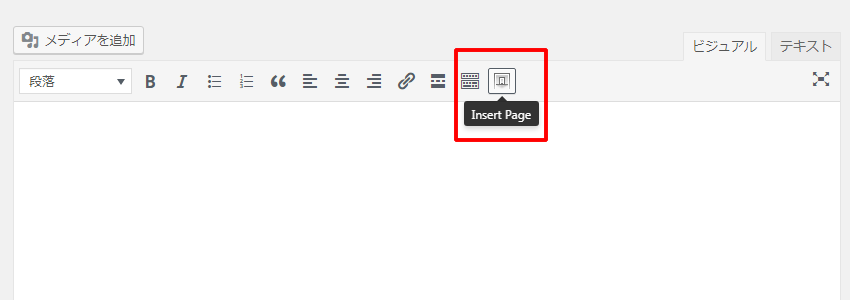
表示させたいページのビジュアルエディタ「insert page」アイコンをクリックします。
先ほど作った「共通パーツ」を選択し、Displayを「Content」にします。
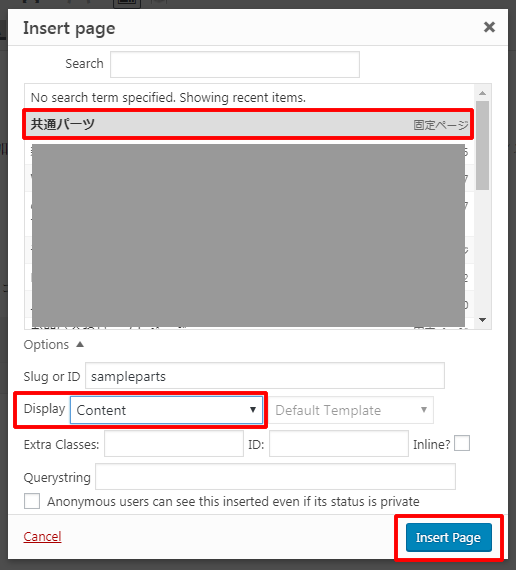
「Insert Pages」ボタンをクリックすると先ほど作っておいた「共通パーツ」が表示されます。
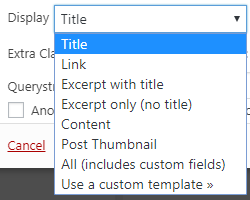
| 表示内容 | Display | |
|---|---|---|
| Title | タイトルのみ | title |
| Link | タイトルに記事へのリンク | link |
| Excerpt with title | タイトルに記事へのリンク+抜粋記事 | excerpt |
| Excerpt only(no title) | 抜粋記事のみ | excerpt-only |
| Content | 記事内容のみ | content |
| Post Thumbnail | サムネイル画像に記事へのリンク | post-thumbnail |
| All(includes custom fields) | 投稿ページすべて | all |
| Use custom template | カスタムテンプレート |

表示させたい内容をお好みで設定してください
クラシックエディタ(テエキスエディタ)の場合
表示させたいページのテキストエディタ「insert page」をクリックします。
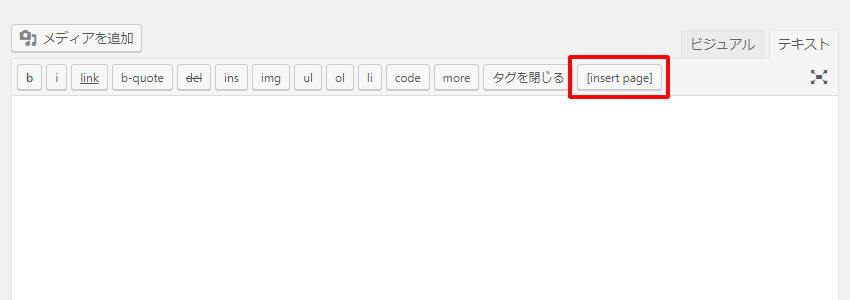
このようなタグが表示されます。
[insert page=’your-page-slug’ display=’title|link|excerpt|excerpt-only|content|post-thumbnail|all’]
pageにページ名、displayにcontentのみに修正します。これで記事内容のみが表示されます。
| Display | 表示内容 |
|---|---|
| title | タイトルのみ |
| link | タイトルに記事へのリンク |
| excerpt | タイトルに記事へのリンク+抜粋記事 |
| excerpt-only | 抜粋記事のみ |
| content | 記事内容のみ |
| post-thumbnail | サムネイル画像に記事へのリンク |
| all | 投稿ページすべて |
ブロックエディタの場合(Gutenberg)
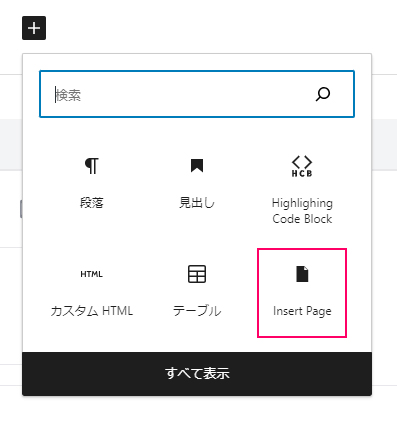
ブロック追加で「Insert Page」を選択します。
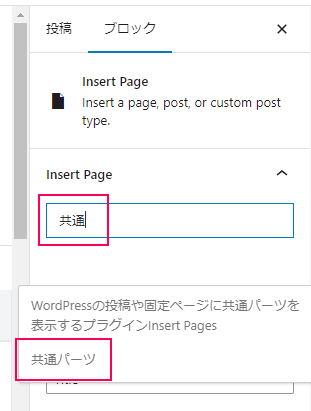
ブロックエリアのInsert Pageで「共通」と入力すると「共通パーツ」が表示されるのでこちらを選択します。
SettingsのDISPLAYで「Content」を選択します。
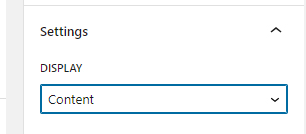
これでブロックエディタに共通パーツが表示されると思います。